Photoshop Revisited

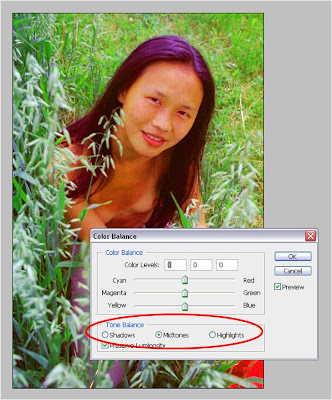
As with all artistic endeavors, there are multiple ways of performing a task and multiple values to be applied. Photoshop compounds this complexity because of the many tools it offers, many of which to some degree duplicate each other but which when used individually and skillfully do produce distinct different effects. Looking again at my rendition of my Taiwanese friend, Meiu, in the previous post, I went back to Photoshop and worked with the Color Balance tool to separately adjust the colors for the highlights, midtones and shadows. I think the results are a little less "garish," a little more subtle, and a little more true to life than that accomplished in the previous post with just the Hue/Saturation tool, which does not distinguish between highlights, midtones, and shadows.
To easily compare all three versions, click, here. The first image is the new one, using the color balance tool; the second image is using the Hue/Saturation tool; the final image is the picture as directly scanned from its original negative. Click here to compare all three images. I think the first, adjusted with the Color Balance tool, is the best, now, because I could correct and change all three lighting "levels" of the image individually.
I did a slight further adjustment with the Brightness/Contrast tool also, which brings up another point: correcting your images really requires subtle manipulation of several of Photoshop's tools in conjunction with each other.


0 Comments:
Post a Comment
<< Home