Shooting in “Raw” files


For those of you with high end digital cameras, if you can go into the menu and change your settings so that the digital file your camera records is a “raw” file (.NEF) instead of a jpg file, you will be greatly pleased. Although these files take up more space on your SDI card, shooting this way is well worth it. I’ll get to the reasons in a second.
On my Nikon D80, I went to the “Shooting Menu,” and for “Image quality” I scrolled over to “RAW.”
The next thing you need to do is run over to Follett and get your $30 set of discs of the complete Adobe Design Suite – this contains Photoshop, but more importantly it contains Adobe Bridge.
Once you have all this installed (you better have plenty of disc space and a big processor with lots of RAM), open Bridge and find the folder with your files. Bridge is like a “light table,” in which you can see large thumbnail views of all your images. Select an image you want to manipulate, then right click on it and tell it to open in “Camera Raw.” When you do this you see some neat tools, including “Fill Light,” “Blacks,” and “Vibrance.” Once you manipulate your picture to where you want it, tell it to “Open Image” (bottom of the Camera Raw screen), and the image will open in Photoshop, where you can resize it, save it, etc.
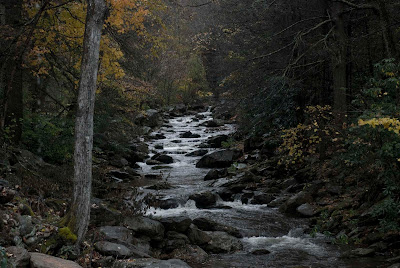
Above you see before and after pictures, in which I increased the Blacks, adjusted the fill light, and ramped up the vibrance. The final version is what I had in my “mind’s eye” as I took the original picture.


0 Comments:
Post a Comment
<< Home